Wednesday, August 30, 2017

DIY: Pottery Barn Patio Furniture Refresh


I'd been wanting a couch or sectional for our back patio for a while now; our toddler loves spending time in the back yard, so we spend tons of time out there with him.  We have a dining table and a couple of wicker chairs on the patio, but a couch seems so much more comfortable!  I started shopping around online and realized that patio furniture is NOT cheap - especially couches and sectionals since the cushions really add up in addition to the cost of the furniture itself!  On the low end, IKEA outdoor couches and sectionals start at $400-500, and more mid-priced options are well over $1,000-1,500.

Enter a secondhand sectional!  I LOVE Facebook garage sale/resale pages - the one in our neighborhood is especially active and great deals can be scored on there all the time!  I like that our page is local (meaning we won't have to drive too far to pick up), and it feels less shady than buying off Craigslist (since you have to know someone personally to get into the group and I can check out our mutual friends before buying).  

One of my friends from the neighborhood bunco group posted her Pottery Barn Chatham sectional for only $50 - it was in good shape but they're changing their patio setup to accommodate a dining table and needed it gone!  It's still sold at Pottery Barn - for the configuration she was selling (including coffee table and cushions), it costs a whopping $2,381 new (plus over $500 in shipping and taxes).  Although it needed some TLC, I was willing to risk $50 on a $3,000 outdoor sectional!  


The cushions were a natural "canvas" color but had some mildew/mold from being left outside in the elements all winter.  The sectional and coffee table themselves are wood (mahogany) but had some slight fading from the sun (the coffee table worse than the sectional).  Overall, though, the cushions were still firm, there were no holes or rips in the fabric, and the wood was very sturdy.  My father-in-law came over last weekend with his pickup truck to help us pick it up, and then we went to town giving it a little refresh!

Luckily, the cushion covers zip off!  I ran them through the washer with a hefty dose of Oxiclean, which got rid of many of the stains.  For the tougher mold/mildew stains, I tried Oxiclean spray, soaking in Oxiclean and hot water, and borax, which all helped some but didn't do the job completely.  Finally (I wish I had started here), I mixed up a solution of 1 part bleach to 8 parts water in a spray bottle.  The fabric care instructions say not to use non-chlorine bleach, but I tested the colorfastness on a hidden part of the fabric and it didn't change the color, so I decided to go ahead.  

The bleach spray worked great and got rid of EVERY trace of mold or mildew that was on the covers!  They look brand new!  I was thrilled with this since new cushions alone run over $500 (before shipping or tax!)  Since the inserts were in good shape, once the covers were clean, they were good to go!  We plan to bring them inside (or store in a deck box) when not in use to keep them from getting so mildew-y again, since I am not sure what the effects of continued bleaching might be (plus they are a hassle to zip on and off).

As for the sectional and coffee table wood, the stain was still in pretty good shape, but there was some sun bleaching and the wood was looking a little dry.  Since the Pottery Barn website says they are made from mahogany and the wood wasn't heavily varnished, we refreshed the wood using this teak oil.  We applied a couple of coats using rags (my husband's old hole-y undershirts).  It took less than an hour for the two of us to do the entire sectional plus the coffee table.  The sectional looks SO much better!  The coffee table was in worse shape so it looks better but still not perfect (it probably needs to be sanded and restained but we didn't want to hassle with trying to match the stain on the sectional right now).  We let the wood dry outside for a couple of days before putting the cushions back on.

Overall, we are thrilled with how it turned out - especially considering it was only a $60 investment ($50 for the furniture and $10 for the teak oil).

Monday, August 28, 2017

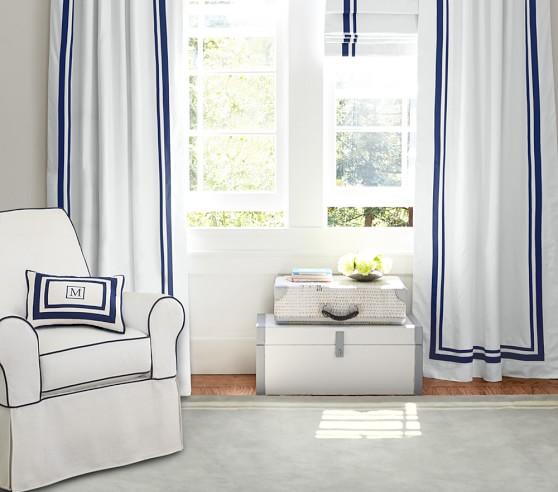
DIY: Pottery Barn Kids Harper Look-alike Curtains


I am in love with Pottery Barn Kids stuff for baby and toddler rooms, but sometimes the price tag is just too much to swallow!  When I started planning C's "big boy" room, I loved the look of the PBK Harper curtain panels, but (for the 96" length I wanted), they are $79 (+ tax and shipping) EACH!  

Image result for pottery barn kids harper curtains


As much as I love them, I could not justify almost $200 on curtain panels for my toddler's room!  Like I did a with the rugby striped curtains in the nursery, I decided to try to DIY a less expensive version with a similar look.  

Supply list:


I bought a pair of 98" white RITVA curtains from Ikea for $24.99 (for the pair! I just tossed the included curtain tie-backs since I wanted the panels to hang straight.)  To be fair, these are not true blackout curtains like the PBK ones are, but we have plantation shutters that block out plenty of light, so blackout curtains weren't necessary for us.  
Image result for ikea ritva curtains

I wanted a similar look to the navy and white Harper curtains, so I bought navy grosgrain ribbon in both 5/8" and 2.25" widths on Walmart.com.  I got a 10-yard spool of the 2.25" ribbon and 3 5-yard spools of the 5/8" ribbon, which cost a total of $14.53.

Since the curtains are 100% cotton and say they have approximately 4% shrinkage, I washed and dried the curtains before starting to make sure that I didn't encounter any unwanted shrinkage or bunching in the final product.  And, since they are 100% cotton....they came out a wrinkled mess!  I spent FOREVER ironing them (with steam! and starch!) to get them flat again.  

After ironing, I hung the curtains up on the curtain rod in C's room to see how much excess length there was.  Since we have 96" ceilings and the curtain rod is a few inches from the ceiling, the 98" length was slightly too long.  I used straight pins to pin the curtains to the desired length (just skimming the floor).  Make sure to do both panels since they may have shunk to slightly different lengths!

After pinning up the excess, I used iron-on hem tape to hem each panel.  This would also be easy to do on a sewing machine, but I already had hem tape on hand, and I didn't want to get my sewing machine out and set it up just to sew 2 straight hems.

Inline image 2

I laid each curtain panel flat on our living room floor to glue on the grosgrain ribbon using permanent fabric glue (make sure it is washable!)  

Inline image 3
Starting with the 2.25" ribbon, I used a small amount of hot glue to glue down the end at the top of the curtain panel (folding under the edge of the ribbon to keep it from fraying), then used the fabric glue to adhere the rest of the ribbon (since hot glue will probably come undone if the curtains are washed and dried, I didn't want to do the whole panel using hot glue).  I used a piece of cardboard as a template to make sure that I was keeping the ribbon straight and an even distance from the edge of the curtain panel.  I also used a large piece of cardboard under the curtain panel to prevent any fabric glue from soaking all the way through onto our hardwood floors.  

I applied fabric glue to the underside of about 2 feet of the ribbon at a time, then pressed it onto the curtain using my hand, before moving on to the next 2-foot section of ribbon. When I got to the corners, I again folded the ribbon (I did not cut it) to form a corner and used hot glue to secure it, since it held better (i.e., more immediately) than the fabric glue.


When I finished gluing the 2.25" ribbon all the way around each panel, I then glued down the 5/8" ribbon, again using a cardboard template to make sure I was keeping it an even distance from the 2.25" ribbon in a straight line.

I am so happy with the finished product!  It achieved the look I was going for at a fraction of the cost of the PBK version.  My total cost was less than $50 for 2 curtain panels (approx. $30 curtain panels + $15 ribbon + $5 fabric glue, since I already had the iron-on hem tape).

Friday, August 25, 2017

Friday Favorites: Favorites under $10

Yay, Friday!  We have a weekend full of birthday parties and plans with friends - I can't wait!  This Friday I'm sharing some of my favorite recent purchases under $10...

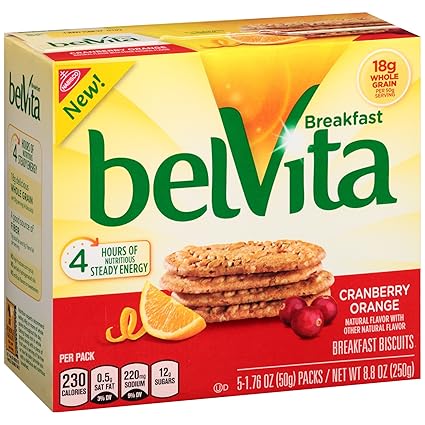
Belvita Breakfast Biscuits

Nabisco belVita Breakfast Biscuits Cranberry Orange - 5 Count


Normally, I eat breakfast at work, since my company provides a free cafeteria with hot breakfast and lunch.  Since I'm home on maternity leave, I've had to figure out a quick and easy breakfast option to keep on hand.  I first tried these Belvita breakfast biscuits when they were included in the hotel "welcome bag" for my brother's wedding; now, I'm addicted and have tried 4 different flavors.  (My favorite are the cranberry orange and coconut; the blueberry are good too.  I like the cinnamon brown sugar the least so far).  There are 4 biscuits in each package, which makes them perfect for on-the-go (or one-handed while nursing) breakfasts.  Grocery stores generally sell them in a 5-pack, but Amazon has them at a better price in a 12-pack.


Gain Scent Booster

Gain Fireworks In-Wash Original Scent Booster 26.5 Oz

I am a sucker for good-smelling laundry, and I love these scent boosters that you add to the washing machine - the laundry comes out smelling great!  I'd been using the Dreft scent booster for a while and wanted something new.  The Gain scent booster smells amazing!


Love Unending devotional


I was looking for a new devotional and came across this Love Unending: Rediscovering Your Marriage in the Midst of Motherhood book.  I am loving it!  This book has 21 days of "challenges", reflections, and prayers to strengthen your marriage - simple things, such as greeting your spouse when they come home, forgiving your spouse quickly, and being intentional about thanking your spouse.  The focus of the book is on doing the things that came naturally at the beginning of your relationship (i.e., before kids) that sometimes fall by the wayside when we are stressed/busy/overwhelmed with raising a family.  I mostly love how "real" the author is in describing her own experiences.  I think it has definitely helped me change my attitude and my actions!


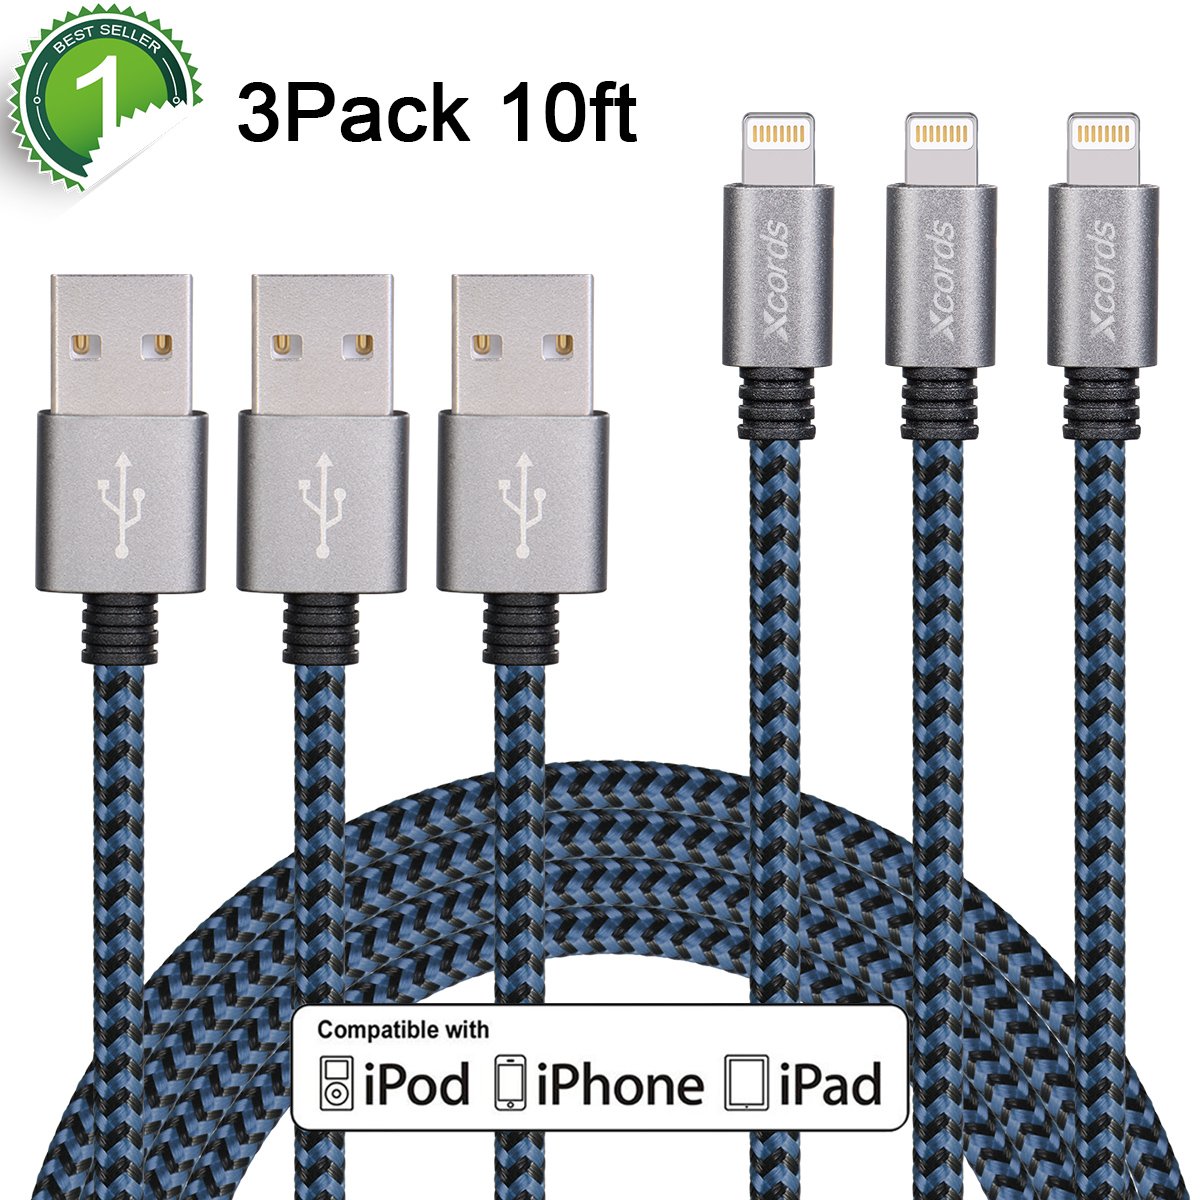
Braided 10-foot iPhone Charging Cord


Technically, these are more than $10, but that's for 3...so they come out to less than $10 each :) This seems ridiculous, but this thing makes my life SO much easier.  The charging cord that comes with the iPhone 1) falls apart too quickly and 2) is not nearly long enough!  My phone is almost always on super low battery, and these 10 foot cords mean that I can have it plugged in AND still comfortably use it sitting on the couch or laying in bed.  I think the braided cord is a lot more durable, too.  I have one of these in almost every room of the house!


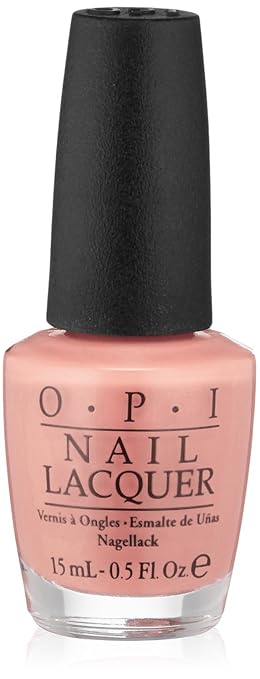
OPI Passion nail polish

OPI Nail Polish, Passion, 0.5 fl. oz.

OPI "Passion" is my go-to color right now - it goes on super sheer, so you can't tell how bad I am at painting my own nails or how chipped they are from constant dish and bottle washing.  I feel more like a human when my nails are painted (and I pick at them less), so I slap on a coat or 2 of this once a week and feel much more polished (pun intended).


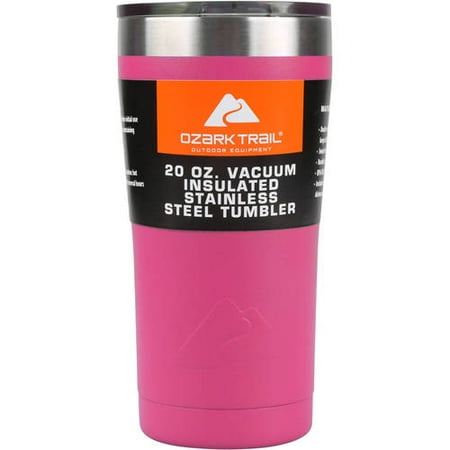
Ozark Trail (aka fake Yeti) Cup

Ozark Trail 20-Ounce Double-Wall, Vacuum-Sealed Tumbler

I have a real Yeti cup and this Walmart knock-off brand is IDENTICAL - in size and how effective it is at keeping drinks cold/hot.  I love all the color choices and mostly that it's LESS THAN $8.  This way, I can justify having several since I have a 3-year-old who likes to drink out of my cup, so it's almost always in the dishwasher (which I think is technically not recommended but, again, 8 dollars.)


09 10