
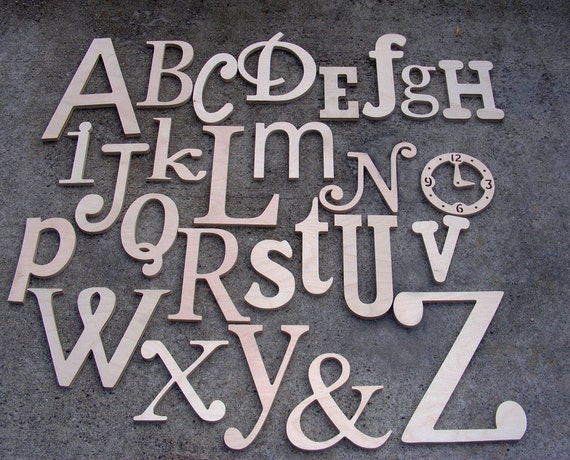
The idea of searching hobby and craft stores all over town to find alphabet letters in a variety of sizes and fonts was daunting; luckily, an Etsy search revealed that I could buy the entire alphabet set at once, for basically the same cost as I would be able to buy 26 individual letters at Michael's, Hobby Lobby, or Joann. I ended up ordering these because I liked the combination of sizes and fonts.

Interested in making an alphabet wall of your own? Here's how:
Supplies:
1 set of wooden alphabet letters3 cans of spray paint (I used 1 can of Valspar spray paint in Tropical Foliage and 2 cans of Rustoleum spray paint in white)
6-7 12x12 sheets scrapbook paper (I got the blue-and-white striped paper at Hobby Lobby)
1 pencil
1 pair scissors
1 bottle of Modge Podge
1 Foam paintbrush
Scrap cardboard
 |
| Source |
Directions:
- Lay out your alphabet letters in order. Starting with A, select every 3rd letter and set them aside. These will be color 1. Starting with B, select every 3rd letter and set them aside. These will be color 2. The remaining letters (starting with C) will be color 3.
- For each set of letters (color 1, 2, and 3), arrange the letters on pieces of scrap cardboard outdoors and spray paint them**. I found that using cardboard worked better than a plastic dropcloth since it was totally flat and allowed me to completely paint the edges of the letters. I painted color 1 green and colors 2 and 3 white. (I wanted the scrapbook paper-covered letters to have white edges).
- Allow the spray paint to cure in a covered, dry area (we put them in the garage) for at least 24 hours.
- Take the color 3 letters and use a pencil to trace each letter on the scrapbook paper. Carefully cut out each letter using scissors.
- Use a foam paintbrush to apply a thin layer of Modge Podge to the back of each scrapbook paper letter cutout. Carefully adhere the scrapbook paper cutout to the front of each wooden letter, making sure to smooth out any air bubbles.
- Use the foam paintbrush to apply a thin layer of Modge Podge to the front of each letter to seal the scrapbook paper and give it a hard and durable finish.
- Allow the Modge Podge to dry overnight.
- Arrange your alphabet letters on the floor to determine the arrangement you want on the wall. Hang them up and admire your hard work! I used Command picture hanging strips to hang mine because I didn't want to put that many nail holes in the wall. I used either 1 or 2 strips depending on the size of the letter (I think I used 4 packages, which each had 4 small strips and 8 medium strips).
**Safety first! If you do this project while pregnant, like I did, make sure to have someone else do the spray painting for you so you don't breathe in the paint fumes! We also allowed ours to cure in the garage for an extended period of time (3-4 days) so they didn't off-gas in our house.
No comments:
Post a Comment